Melting Threads: A Small Step, Big Impact
When I first began working with synthetic threads that required melting the ends, I truly had no idea how much skill this “simple” step demanded.
At the beginning, I thought:
You cut the thread, hold it to a flame, and you’re done.
It didn’t take long to realize how wrong I was.
Melting thread ends is not just a technical finish — it is a refinement stage. And refinement is what separates intricate work from truly polished craftsmanship.
The thread’s reaction to heat, the distance from the flame, the length you leave, even the tool in your hand — every detail influences the final look.
And in micro macrame, details matter.
Why Melting Thread Ends Matters
Melting synthetic thread ends is often treated as a final mechanical step. In reality, it directly impacts:
The visual cleanliness of your design
The durability of your knots
The overall professional finish
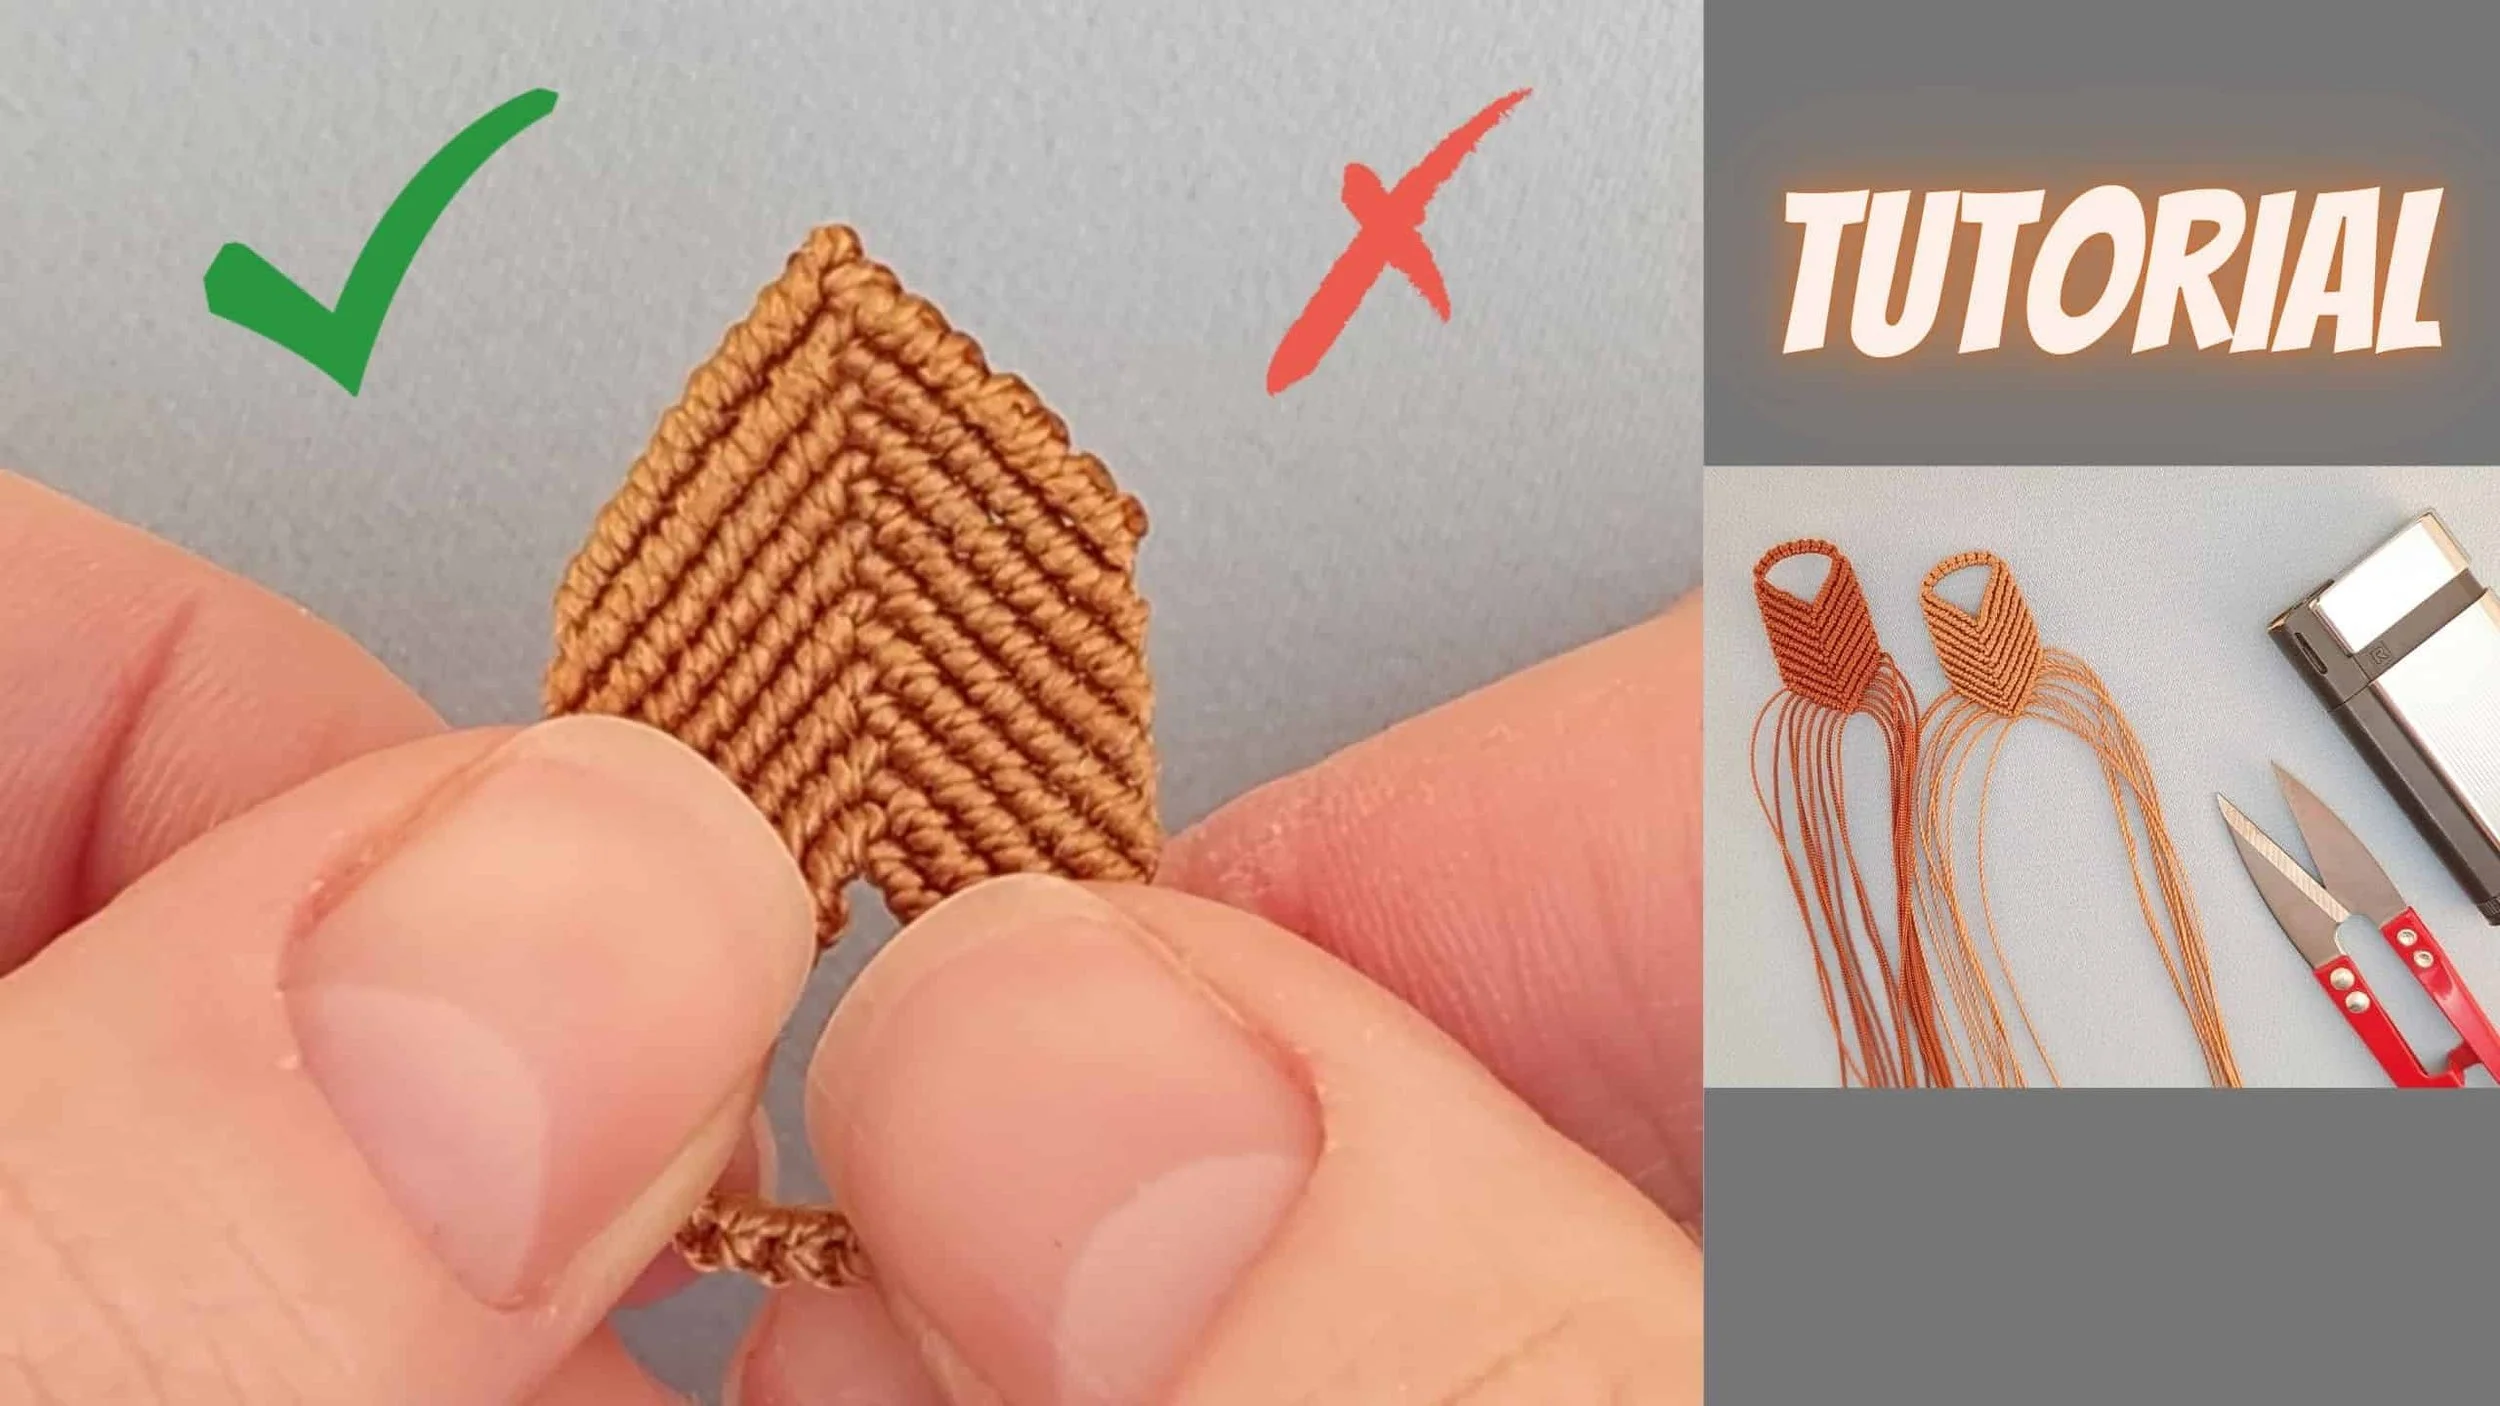
A poorly melted end can draw attention away from hours of intricate knotting. A clean finish, on the other hand, disappears seamlessly into the work.
It is a small step.
But it has a big impact.
My First Lesson: Not All Threads Behave the Same
One of the earliest surprises in my micro macrame journey was discovering that not all synthetic threads react equally to heat.
I once worked with a dark green thread, expecting it to melt smoothly. Instead, it shriveled and blackened into a charred mess. Frustrated, I tried melting a white thread from the same spool — and it behaved perfectly.

That moment taught me something important:
Never assume. Always test.
Some threads melt cleanly.
Some discolor.
Some leave residue.
Before beginning a project, I now test a small piece of thread with a flame. That extra minute prevents major disappointment later.
If you’re unsure which thread type works best for your project, I recommend reading Choosing the Perfect Micro Macrame Threads, where I explore thread structures, finishes, and their ideal applications in detail.
The Challenge of White Threads
White synthetic threads require special attention.
When held too close to the flame, they often develop an unwanted yellow tint. Early in my practice, I learned this the hard way — more than once.
The solution is simple but requires patience:
Hold the thread slightly farther from the flame and let the heat do the work gradually.
For darker colors like red, blue, or green, I’ve found that working within the blue part of the flame (closest to its base) provides a cleaner melt with minimal soot.
The key is control, not speed.
Thread Length: Finding the Balance
Thread length before melting is one of the most underestimated factors.
In the beginning, I cut my threads too short, assuming shorter meant neater. The result? The knots unraveled and I had to redo entire sections.
Then I tried the opposite approach — leaving long ends. Those melted into bulky, visible blobs that disrupted the delicacy of the design.
Over time, I found the balance:
Long enough to secure the knot.
Short enough to remain invisible.
If you’d like to see the exact length I use in different projects, watch the final sections of my YouTube tutorials. I demonstrate how I adjust thread length depending on thread type and project scale.
A Small Trick for a Cleaner Finish
There is one simple technique that makes a remarkable difference:
Before melting, gently pull the thread toward the back side of the work.
When you melt it, the sealed end retracts slightly and becomes less visible within the structure.
It’s a subtle adjustment.
But subtle refinements define premium work.
In my public YouTube tutorials, I demonstrate this briefly at the finishing stages of selected projects.
However, inside the Members section, I’ve prepared a dedicated, slower-paced video where I show this process in detail — including flame positioning, thread tension, and the exact movement that creates a seamless finish.
Because mastering refinement requires seeing it clearly.
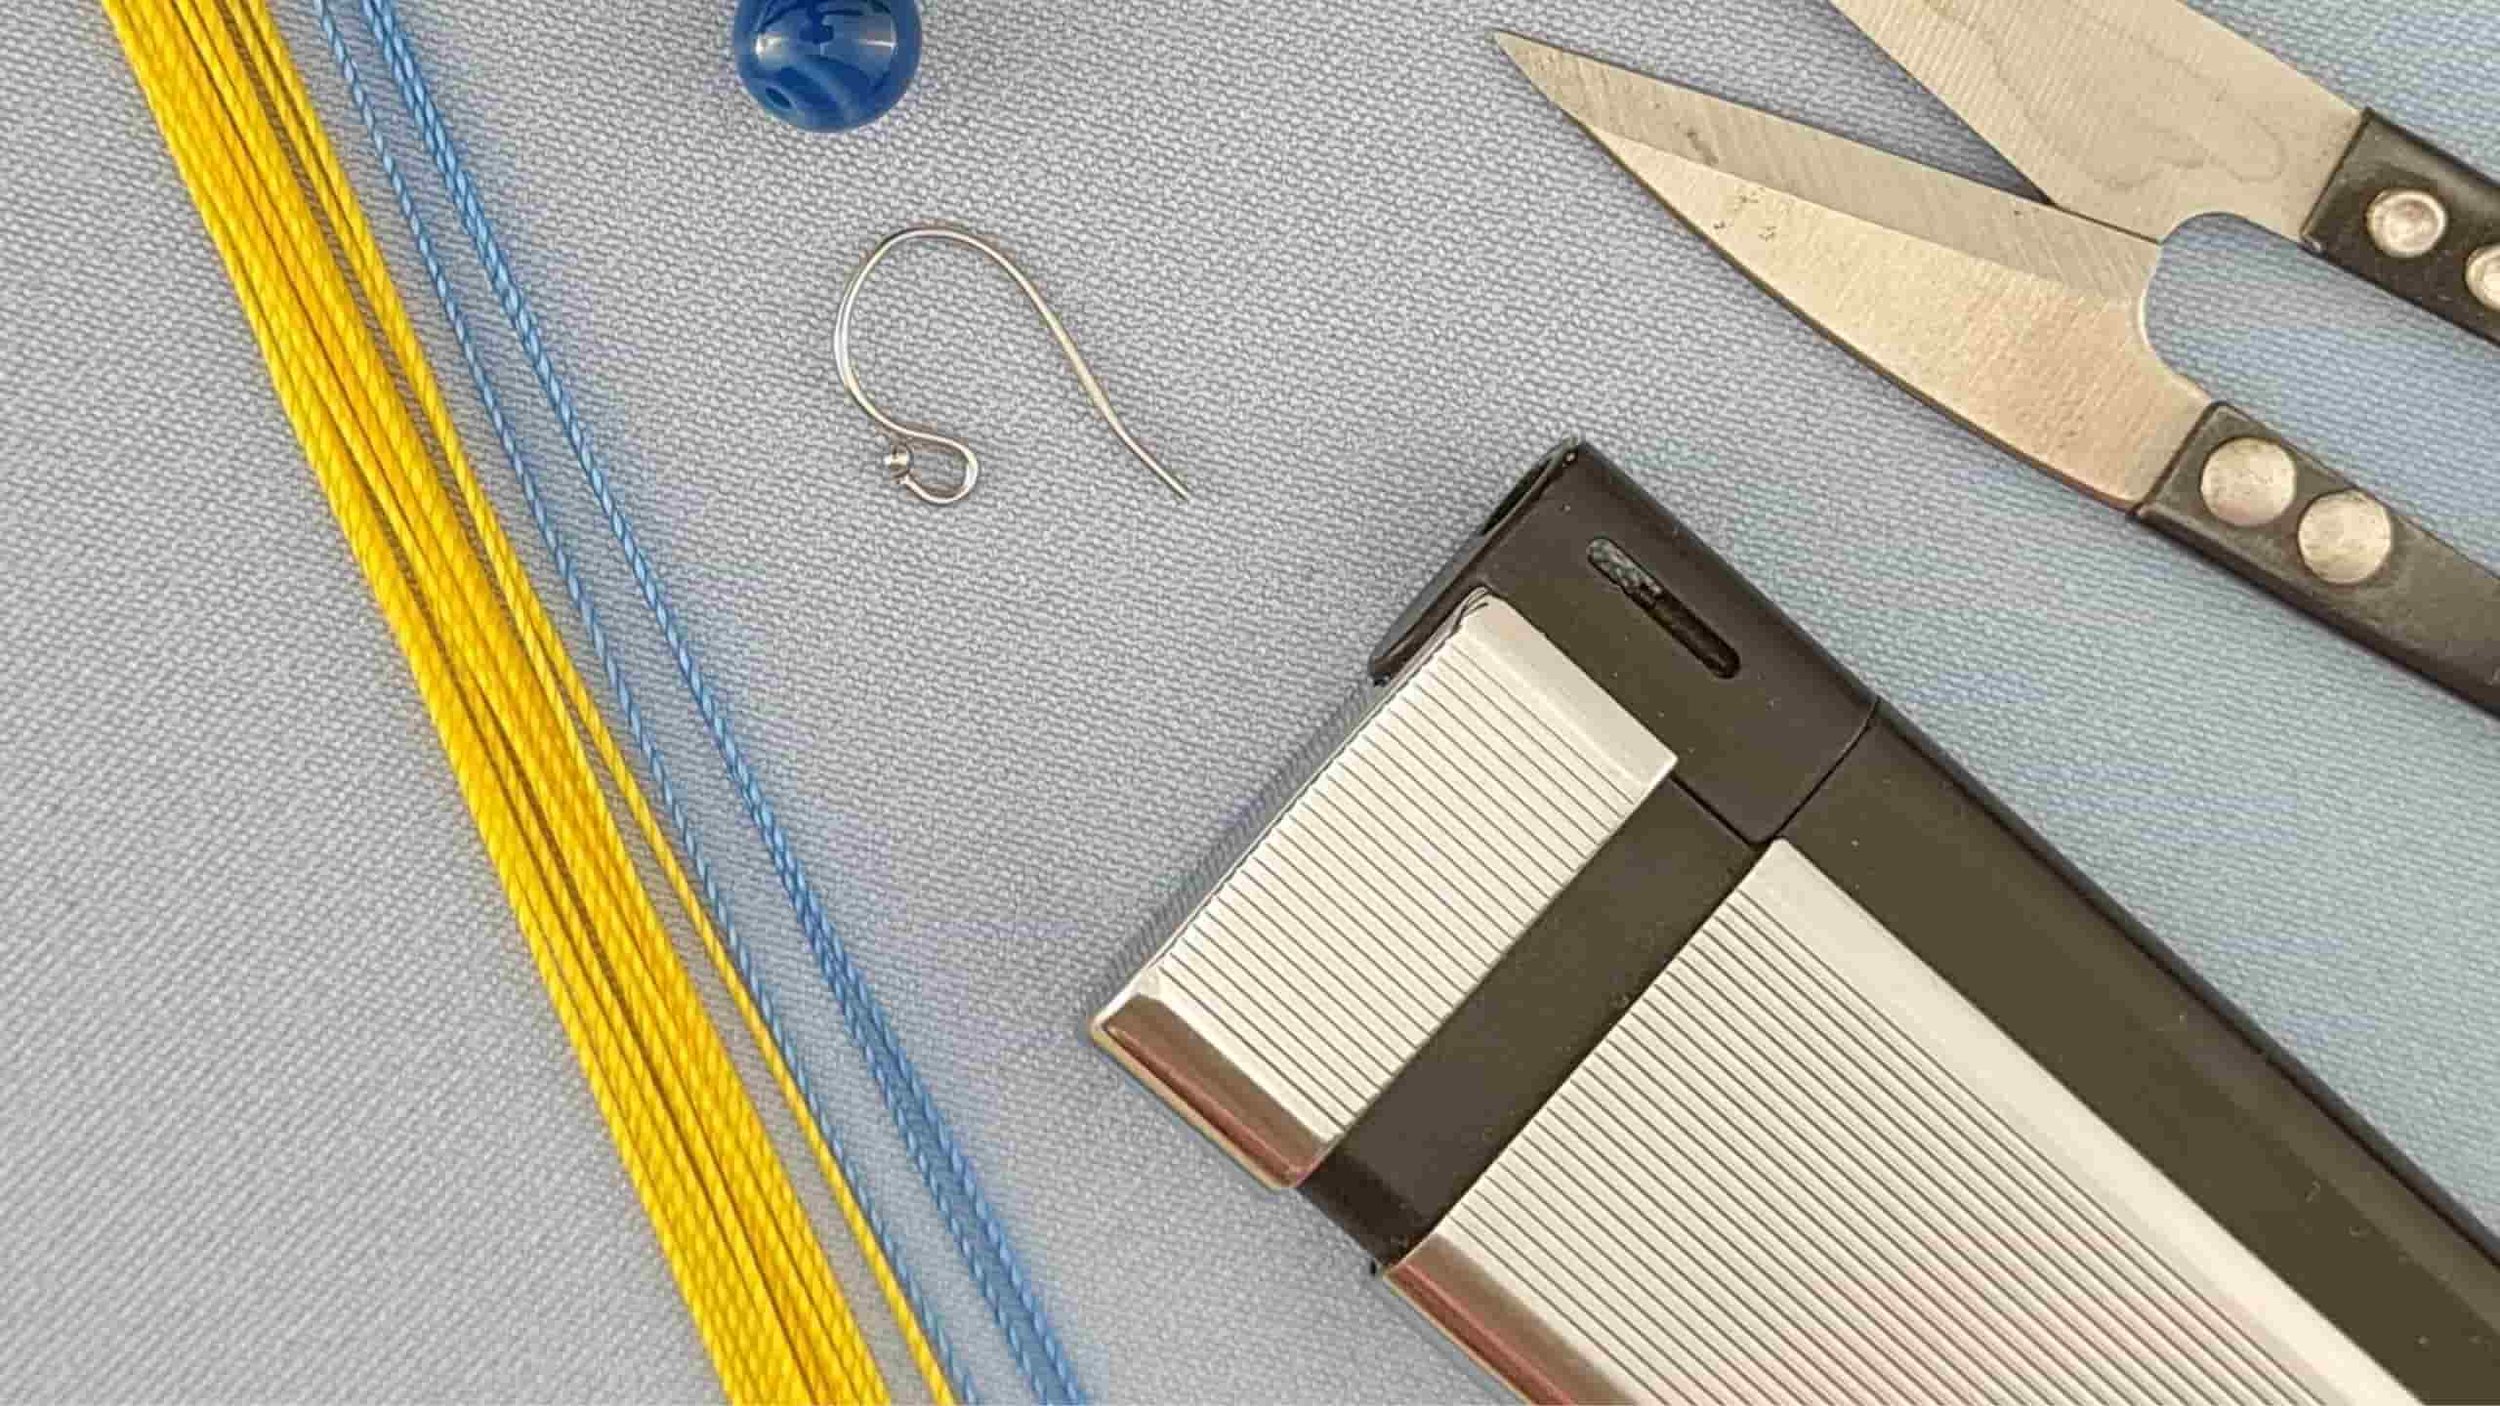
Choosing the Right Tool
Over the years, I’ve tested several tools for melting thread ends.
Refillable Lighter
My personal preference is a simple refillable lighter — reliable, reusable, and easy to control. It may not be fancy, but it delivers consistent results.
Specialty Thread Burner
I also experimented with a specialty burner designed specifically for thread work. While it seemed promising — especially for thin or hard-to-reach threads — in practice it created problems.

Melted thread residue accumulated on the tip, staining other threads over time. Eventually, the switch mechanism failed, and despite attempts to repair it, the tool became unusable.
Perhaps I encountered a faulty model, but my experience reinforced an important principle:
The simplest tools often offer the most control.
Mastering the Details
To summarize, a clean melted finish depends on:
Testing your thread before starting
Adjusting distance from the flame
Using the blue part of the flame for darker colors
Leaving the correct thread length
Gently pulling the thread back before melting
Choosing a reliable tool
None of these steps are complicated.
But together, they elevate your work.
If you are just beginning your micro macrame journey, start with Micro Macrame Foundations, where I guide you through the essential tools, materials, and finishing principles every beginner should master.
Final Thoughts: Refinement Defines Craftsmanship
Melting thread ends may seem like a small technical detail, but it is one of those subtle refinements that transform a piece from “good enough” to intentional and polished.
Micro macrame is built on patience and precision. The finishing process deserves the same attention as the knotting itself.
If you’d like to see how I apply these techniques in real projects, visit my YouTube channel, where I demonstrate each step in context.
Once you master this seemingly simple stage, you’ll understand how satisfying it is to achieve a truly seamless finish.